The Ultimate Guide to DIY Irrigation Installation in 92679
|
|
Time to read 7 min
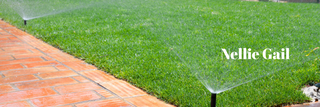
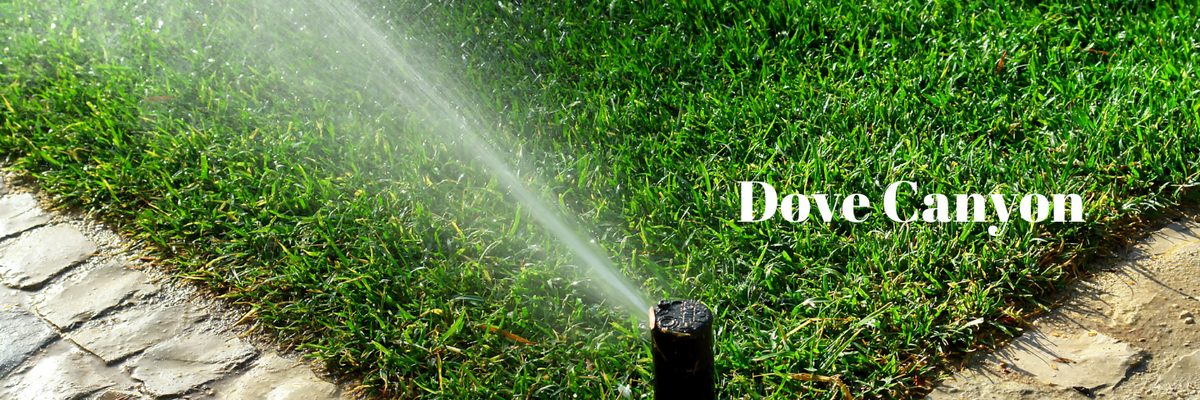
Designing and installing your own irrigation system can be one of the most rewarding upgrades for your property in 92679. A custom system not only enhances your garden’s health but also helps conserve water and boost property value. For homeowners in Dove Canyon and surrounding areas, installing a tailored irrigation system means you’ll be better prepared for the long, dry summers while supporting sustainable water use.
A DIY irrigation project may seem complex at first, but with the right guidance and preparation, it's entirely achievable. This guide walks you through everything from understanding your terrain to choosing equipment, installation, and long-term maintenance.
Knowing Your Local Climate and Landscape in 92679
Living in Southern California means adapting to a Mediterranean climate. Summers in 92679 are hot and dry, with minimal rainfall. Winters are typically mild with occasional rainfall, but not enough to sustain a thriving garden year-round without supplemental watering.
These climate conditions create a need for an efficient system that delivers water where and when it's needed. Without proper planning, overwatering or runoff can become a problem. Understanding the natural rhythm of your environment is the first step in building an effective irrigation setup.
Soil conditions also play a big role. Many parts of 92679 have clay or sandy soils. Clay soil holds water longer but drains slowly, increasing the risk of root rot if overwatered. Sandy soil drains quickly but struggles to retain moisture, meaning more frequent irrigation is necessary. Knowing your soil type helps determine the frequency and method of watering that works best for your landscape.
Additionally, 92679 features a mix of flat and sloped terrain. Steep slopes need special attention since water tends to run off before it soaks into the soil. Slopes benefit most from slow-drip systems that deliver water directly to the roots without encouraging erosion.

Evaluating and Planning Your Irrigation System
Every yard is different, so a one-size-fits-all approach won't work. Begin by evaluating your outdoor space. Take note of the size of your lawn, plant types, and areas that receive full sun versus shade. For example, turf grass in full sunlight needs more frequent watering than drought-tolerant plants in shaded zones.
Zoning is a key aspect of efficient irrigation. Group together plants with similar water needs. This allows you to run each zone for an appropriate amount of time, without wasting water or under-watering sensitive areas. Lawns, flower beds, and shrubs should all be treated as separate zones when designing your system.
Designing the system layout is a crucial step. Sketch your property, marking all irrigation zones, key plants, and water sources. Plan your pipe runs so they reach each section of your yard with minimal overlap or water loss. Keep future expansion in mind—you might want to extend the system as your landscape evolves.
Selecting the Right Type of System
Choosing the right system depends on your landscape and water goals. In most Dove Canyon homes, a combination of irrigation methods provides the best results.
Sprinkler systems are ideal for flat, grassy areas. They provide even coverage over large spaces but can waste water if misaligned or used on windy days. Drip irrigation is excellent for shrubs, flower beds, and sloped areas. It delivers water directly to the plant roots, reducing evaporation and runoff. Soaker hoses are another option, especially useful in straight-line garden beds. They require minimal setup but offer less precision.
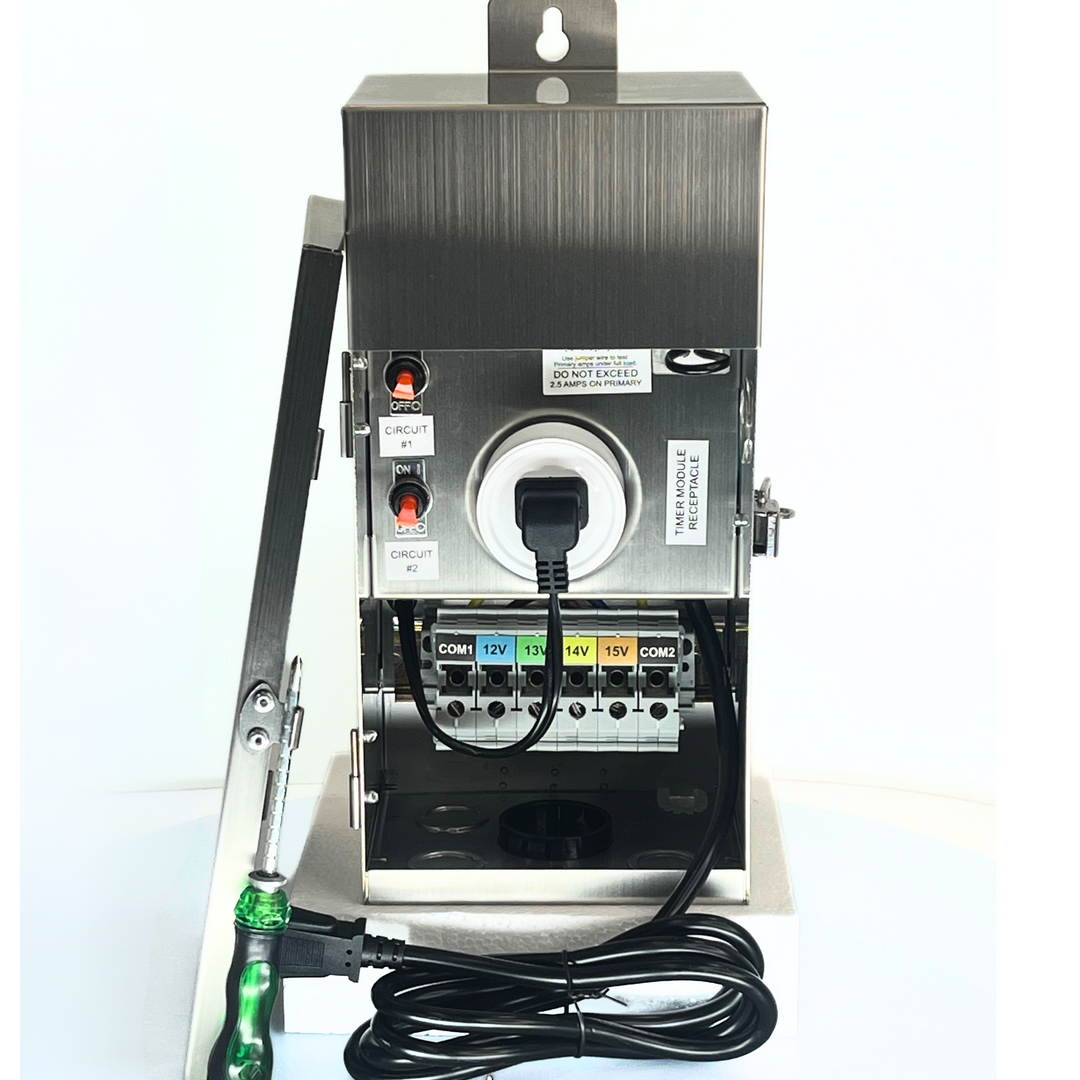
Beyond the type of system, quality equipment matters. Look for sturdy, UV-resistant tubing, reliable timers, and pressure regulators that suit your local water pressure. Avoid cutting corners with cheap parts, as they can lead to leaks and higher water bills down the line.
Smart timers or controllers that adjust watering schedules based on weather conditions are becoming more common and are worth the investment. They ensure your system runs efficiently throughout the year, especially during seasonal shifts.
Step-by-Step DIY Installation Process
Once your planning is complete and you've selected your equipment, it’s time to get your hands dirty.
Start by gathering your materials. This typically includes PVC or polyethylene piping, connectors, sprinkler heads or drip emitters, valves, a backflow preventer, and a programmable timer. If you're working with a large yard, consider renting a trencher for easier pipe installation.
Begin by marking out your zones and pipe paths on the ground using flags or string. This visual guide helps prevent mistakes as you begin digging. Trenches should typically be 6 to 12 inches deep, depending on your pipe size and frost depth, although 92679 rarely experiences freezing temperatures.
Lay out the piping according to your plan. For PVC, glue the joints securely. For poly systems, use compression fittings. Attach sprinkler heads or drip emitters based on each zone’s requirements. Take extra care when installing emitters in sloped areas to avoid uneven flow.
Once your system is assembled, connect it to the main water supply. You’ll need a backflow preventer to meet local codes and protect the public water supply. After securing all connections, install the timer and set the desired watering schedule based on the season.
Before covering trenches, run the system zone by zone to test for leaks or misaligned components. Make adjustments as needed. Once everything runs smoothly, backfill the trenches and tidy up the area.

Keeping Your System in Top Shape
Routine maintenance ensures your system performs efficiently year after year. Regular checks, especially during the hot months, can prevent bigger problems down the line.
Inspect sprinkler heads and emitters weekly for blockages, clogs, or misdirection. Replace or clean them as needed. Filters should be cleaned monthly to prevent sediment from reducing water flow. Drip lines and emitters should also be flushed a couple of times each year to remove any buildup.
As seasons change, so should your watering schedule. During winter months, when rainfall is more common, you can reduce watering or pause your system entirely. In summer, ramp up the frequency, particularly for exposed or sandy soil areas.
Be proactive when it comes to leaks or inefficiencies. A single broken emitter or misaligned sprinkler can waste hundreds of gallons of water each month.
Understanding Local Guidelines and Support Options
Before starting your project, check with local authorities to ensure you meet all installation regulations. In 92679, certain installations—especially those that tie into the potable water supply—require backflow prevention and may need inspection or approval.
Underground piping must avoid utility lines. It’s wise to call local services for guidance on safe digging practices. Taking the time to check these details can save you from fines or needing to redo work.
Many local garden centers offer advice and resources to assist with DIY irrigation. Some may even provide free classes or system design help. Homeowners can also benefit from rebate programs that reward water-saving improvements, especially those that include smart controllers or drip conversion kits.

FAQ
How do I calculate water pressure for my irrigation system?
Water pressure is measured in pounds per square inch (PSI), and most irrigation systems require 30 to 50 PSI for optimal performance. You can measure your pressure by connecting a pressure gauge to an outdoor faucet. If it's too high, you’ll need a pressure regulator to prevent damage to pipes and emitters. If too low, consider adjusting your system layout or using low-pressure emitters designed for reduced flow.
Should I install a drip system or sprinklers first in a multi-phase project?
If you’re planning to install your system in phases, start with the drip system. It’s more water-efficient and easier to install in focused areas like garden beds or shrubs. Completing these zones first allows you to support critical plant areas while gaining experience before expanding to sprinklers in larger lawn zones.
How deep should irrigation pipes be buried in 92679?
In most cases, pipes should be buried 6 to 12 inches deep. This keeps them safe from foot traffic, sun exposure, and garden tools. In warmer climates like 92679, frost isn't a major concern, so deeper trenches are usually unnecessary unless required for slope stabilization or heavy landscaping.
Is it necessary to flush the system regularly, and how do I do it?
Yes, flushing your system helps prevent clogs caused by debris, mineral buildup, or insects. To flush a drip system, remove end caps and run water through the pipes for a few minutes. For sprinklers, briefly remove nozzles and let water flow to clear the lines. Aim to flush your system at least twice a year, especially after long periods of inactivity.
Can I automate seasonal changes in watering schedules?
Yes, you can automate seasonal adjustments by installing a smart irrigation controller. These devices use weather data, soil moisture readings, and evapotranspiration rates to adjust watering times and durations automatically. Some models even comply with local water regulations and can help lower your water bills over time.

Your Landscape, Your Project
Installing your own irrigation system is more than a weekend project—it’s an investment in your landscape’s long-term health. For homeowners in the 92679 area, managing water efficiently has never been more important. From adapting to the warm, dry climate to ensuring every drop counts, a DIY irrigation system puts control in your hands.
With a bit of planning, the right materials, and a willingness to get outside and dig, you can create a system tailored to your yard’s unique needs. The result? A thriving, water-wise garden and a sense of accomplishment every time it runs.
Ready to get started or have questions? Drop a comment and connect with others in the 92679 DIY community.